Decide whether the picture needs a stack
Focus stacking combines selected sharp information from multiple photographs made at different focus positions. It can show more apparent depth than a single frame at the same aperture. It does not create a new optical depth of field in the original exposures, and the final picture may contain alignment, blending or retouching decisions.
Start by asking what needs to be understood. A single sharp eye with a soft background may describe a living insect beautifully. A mineral study intended to show several faces may benefit from more depth. Stacking is a method, not a requirement for a technically respectable macro photograph. Lower magnification or a better subject angle may solve the problem more simply.
Build a stable, repeatable setup
Choose a stationary subject on a firm surface. Support the camera, compose with a little spare room around the edges and keep the light consistent. Alignment may crop the result, and focus breathing can change framing as focus moves. A background with gentle texture is easier to manage than a busy scene of crossing fine lines.
Use consistent exposure and white balance so the sequence does not shift in brightness or color. Manual settings can make this easier, but check that the selected shutter speed, aperture and ISO suit the light. If using flash, allow it to recycle fully between frames. A remote release or self-timer can reduce movement from touching the camera.
Camera-based focus bracketing, lens focus adjustments and a focusing rail are different ways to sample depth. Moving the camera changes viewpoint; changing lens focus may change magnification and optical behavior. Neither approach is artifact-free. Learn one method with a simple subject before comparing more elaborate equipment.
Capture overlapping focus positions
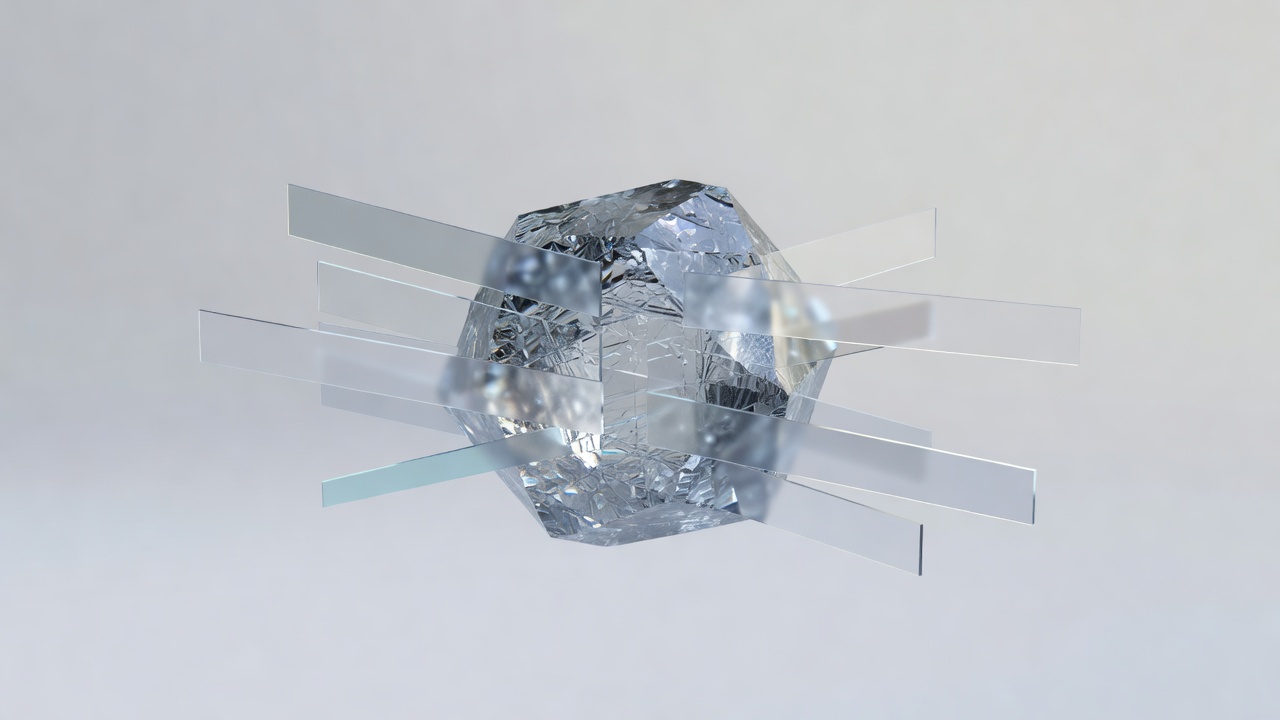
Begin slightly in front of the nearest detail that needs to be sharp. Advance focus in small, consistent steps until you are slightly beyond the farthest required detail. Review magnified frames to confirm that neighboring sharp zones overlap. A visible gap between them cannot be repaired by asking the software to invent missing detail.
The necessary frame count depends on magnification, aperture, subject depth and acceptable sharpness in the final output. There is no universal count or focus-step setting. Camera bracketing scales are not interchangeable between brands or even every lens. Make a short test sequence, inspect it and adjust before committing to a long run.
Keep individual exposures comfortably sharp. Stacking does not rescue general camera shake or a moving petal that changes position in every picture. A subject that shifts shape may be unsuitable for the method, even if software can align the overall frame. For living subjects, never restrain or chill an animal to obtain a sequence.
Merge without surrendering judgment
Stacking tools such as Helicon Focus, Zerene Stacker and Adobe Photoshop provide different blending and alignment approaches. Availability and features vary by version. The useful question is not which application has the most impressive name, but whether it preserves the structures your particular image needs.
Apply consistent raw development across the source frames. Avoid heavy sharpening or local adjustments that differ from frame to frame before merging. Keep the original sequence so you can return to it when an edge looks suspicious. A separate output file makes it easier to compare the merged result with the individual exposures.
Inspect thin hairs, overlapping edges, shiny facets and transparent surfaces. A foreground edge can hide background detail in some frames, producing halos or smeared transitions. Retouching from a suitable source frame may improve a local error, but extensive reconstruction should not be mistaken for automatically recovered evidence.
Review the image at two scales
First examine the whole composition at its intended viewing size. Does the extra sharpness help, or does it turn the background into competing clutter? Then inspect critical regions more closely. Pixel-level checks can find artifacts, but they should support the picture’s purpose rather than replace it.
When sharing a stack, describe it as a composite, especially for documentary, scientific or competition use. Keep a simple record of capture method and major edits. Different publications and competitions have different rules. Honest presentation makes the technique useful without implying that one untouched exposure recorded everything at once.
My stack has soft bands. What should I check?
Inspect the source sequence for missing overlap, vibration or a focus step that was too large. Capture a new test rather than relying on aggressive sharpening.
My stack has halos. What should I check?
Look for occluded background detail, moving edges or alignment changes. Try a simpler subject angle, a different merge method or careful source-frame retouching.