Begin with a window and a card
Place a still subject beside a window that receives indirect daylight. Switch off nearby room lights so you are not mixing several color sources. Make a photograph with the window to one side, then turn the setup so the window is more frontal. Keep the camera position and subject size similar. The comparison will show how light direction changes the visibility of texture.
A white card on the shadow side can return some light to the subject. Move it closer and farther away while watching the live view. The card does not create light; it redirects some of what is already available. A dark card can do the opposite by reducing reflections from nearby bright surfaces, helping separate a pale edge from its background.
Natural light changes. Clouds, the time of day and nearby buildings can alter both intensity and direction. For a controlled comparison, work quickly and note the conditions. If the light changes halfway through, repeat the first frame instead of assuming every difference came from the adjustment you intended to test.
Think in apparent source size
Shadow softness depends strongly on how large the light source appears from the subject’s position. A broad window close to a small object can create soft transitions. A bare lamp farther away may look much smaller and create harder shadows. Distance, source dimensions and placement all work together; “soft” is not an intrinsic property of a particular lamp.
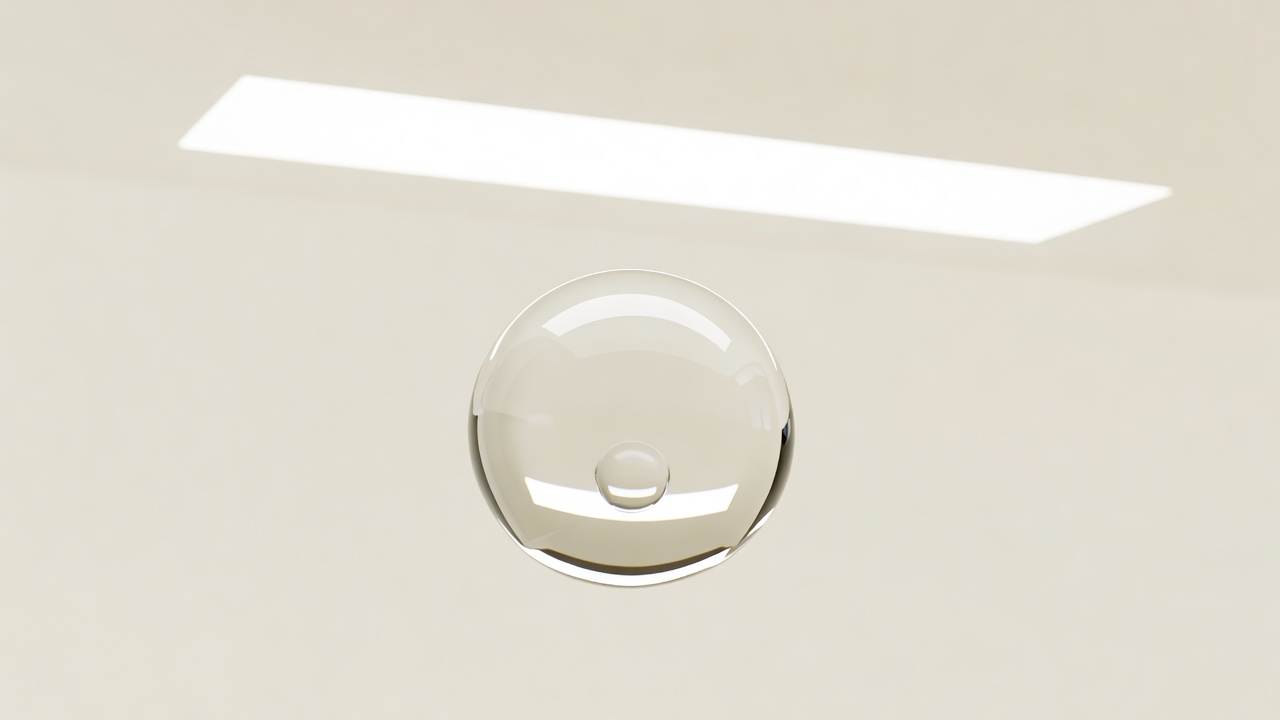
A diffuser spreads light across a larger visible area when it is illuminated effectively. Simply placing a small translucent sheet in front of a flash does not guarantee broad, even light. Look at the reflection on a curved object: a tiny bright spot suggests that the source still appears small, while a broader highlight can reveal a larger illuminated area.
Keep paper, fabric and improvised diffusion materials away from hot lamps, vents and electrical contacts. Do not cover a flash’s ventilation openings or ignore its duty-cycle guidance. Purpose-built lighting accessories and the manufacturer’s safety instructions are better references than assuming a material is safe because it looks translucent.
Match the light to the material
Matte surfaces scatter light in many directions. Glossy surfaces show stronger images of their surroundings. A polished mineral may therefore need a carefully positioned bright panel and dark cards rather than simply more illumination. Move the light while watching the highlight; small changes can reveal a facet or obscure it completely.
Backlighting can emphasize translucent petals, fine hairs and the edge of a droplet. It can also create flare or leave the front of the subject too dark. Shield the lens from direct stray light without entering the frame, and add a reflector only if the dark side needs more information. Some darkness helps describe form.
A polarizing filter may reduce certain reflections from non-metallic surfaces, but its effect depends on angle and material. It also reduces transmitted light. It will not remove every bright reflection, and metallic surfaces behave differently. Treat polarization as an optional experiment, not a substitute for arranging the source.
Use flash deliberately
Flash can provide repeatable light and, under suitable conditions, a short effective exposure. A brief flash pulse can reduce motion blur when flash supplies most of the recorded illumination. If ambient light contributes strongly, movement may still appear as ghosting. Flash duration varies with the unit, power setting and operating mode; a fast shutter number alone does not explain the result.
Stay within the camera and flash system’s synchronization guidance. High-speed sync behaves differently from a conventional short pulse and may reduce available output. For a stationary practice subject, begin with modest settings, review the histogram and check important highlights. Keep enough detail in bright areas to describe the surface rather than chasing maximum overall brightness.
With living subjects, minimize repeated flashes, allow pauses and stop at any sign of disturbance. Avoid flashing near nests, shelters or sensitive animals. There is no universal setting that can guarantee harmlessness across species and conditions. When uncertain, use available light or choose a non-living practice subject.
Finish with a readable comparison
Make three frames of the same texture: frontal light, side light and side light with a reflector. Match overall brightness as closely as practical. Ask which picture explains the material best. Save the arrangement as a small sketch so you can reproduce it. Learning to place one light intentionally is more useful than adding several lights without a clear job for each.