Begin with everyday textures
A sheet of paper contains fibers. A cotton towel contains loops. The cut edge of cardboard contains a miniature architecture of walls and spaces. These subjects are useful because they stay still and can be photographed repeatedly. You can compare lighting and focus without wondering whether a moving subject caused the difference.
Choose an object that is safe to handle and place it near a window. Make one picture from above and another from a low angle. In the first, notice the pattern; in the second, notice the relief. Do not assume the closest possible view is the strongest. A little surrounding material can help a viewer understand what the detail belongs to.
Set aside valuable coins, fragile artworks and objects with unknown residues. You do not need to clean, polish or alter a subject to make it interesting. Loose dust may be part of the story, although it can also distract from the structure you wanted to show.
Read a flower as a structure
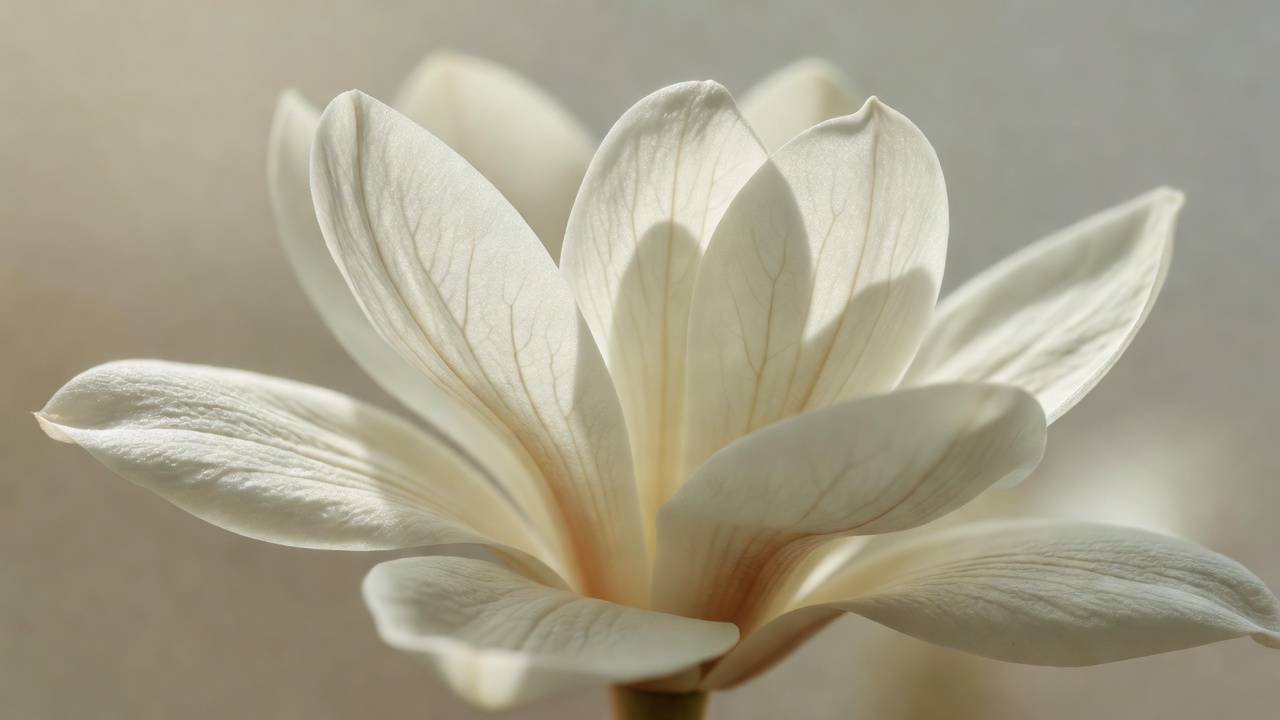
A flower offers several different subjects: the curve of a petal, the arrangement of stamens, the surface of a leaf and the transition from bud to open bloom. Choose one rather than asking a single image to explain them all. A slightly wider picture often communicates shape more clearly than an extreme crop.
Outdoors, watch the flower before setting up. A breeze that seems slight can move a petal beyond a thin focus zone. Wait for a quiet interval, increase shutter speed where appropriate, or work at lower magnification. Avoid tying down stems or cutting plants simply to make the photograph easier. Follow access rules in gardens and protected habitats.
Let living subjects set the pace
Insects and spiders are not interchangeable props. A bee visiting a flower, a hoverfly resting on a leaf and a jumping spider exploring a wall each move differently. Observe the individual animal and its route. If it repeatedly visits the same flower, position yourself nearby without blocking access and allow it to approach on its own.
Move slowly, avoid casting a sudden shadow, and keep your equipment out of the animal’s path. Never chill, freeze, restrain, glue, bait or spray an animal for a picture. Do not remove it from a web, nest or shelter. Stop when your presence changes its behavior. A photograph is optional; the animal’s ability to continue normally is not.
Identification also deserves restraint. Many species look similar in a photograph, and color can shift with lighting. Resources such as iNaturalist and the Natural History Museum can support further study, but an attractive image is not automatically a reliable identification record. Keep location information private when sharing could expose a vulnerable species.
Explore droplets and minerals indoors
A water droplet acts as a curved transparent object, so its surroundings strongly influence its appearance. Place a small drop on a washable surface, keep electronics well away, and experiment with a bright card behind or beside it. Watch the highlight change before making a photograph. Plain water is enough for a first study; unfamiliar additives introduce unnecessary handling and cleanup questions.
For minerals, start with a familiar pebble or table salt on a tray. Side light can separate crystal faces, while a darker background may help pale grains stand out. Do not grind, dissolve or taste an unknown specimen. Some minerals contain harmful substances, and even ordinary powders should be kept away from children, pets and camera mechanisms.
Make a small subject notebook
Record what you photographed, whether it was living, your approximate magnification and the direction of the light. Include one sentence about what did not work. “The bright reflection covered the texture” is more useful than “bad picture,” because it suggests a next experiment.
Make a short series rather than chasing a perfect frame: a context view, a detail view and a lighting comparison. Together they reveal how photographic decisions change what the viewer can understand. When you return to the subject, you will have a practical question to test instead of a vague hope that getting closer will solve everything.